
Tango Pools Journal
Pool Deck Drainage Planning: Coordinate Water Before Finishes

Water reaches a poolscape from rain, roof runoff, irrigation, splash, cleaning, and snowmelt. The design challenge is not one drain detail in isolation; it is coordinating finished surfaces, walls, steps, planting, structures, and the larger property before the materials are installed.
Tango Pools’ luxury pool design work brings the water, terrace, and surrounding property into one planning conversation. In Southeast Michigan, that conversation should include the conditions around the yard through the year, not only a dry summer day. Homeowners can help by documenting observations and asking coordinated questions. Actual slopes, drain sizes, discharge locations, soil solutions, and construction details require project-specific professional design and any applicable approvals.
This guide connects Tango Pools’ luxury pool design & construction work with a specific task: coordinating deck pitch, drains, roof runoff, grade, walls, and planting around a pool.
Map every source of water
Rainfall, downspouts, sump discharge when applicable, irrigation, hillside runoff, splash, cleaning, and snowmelt may reach the pool area differently.
Start with what you have actually observed. Note where water collects after rain, which downspouts discharge near the proposed work, and whether a particular route becomes wet repeatedly. Photograph conditions only when it is safe to do so. These observations are useful evidence for the project team, but they are not a diagnosis. A recurring wet patch may need investigation beyond what is visible at the surface.
Include proposed changes as well as existing conditions. A new roof, terrace, wall, or planting area can alter how water reaches another part of the yard. Ask the designer to show how those additions are considered together. If the scope includes work by several contractors, identify who coordinates the overall approach. The homeowner should not have to infer that separate drawings fit together simply because each one contains a drain symbol. A shared understanding of water sources is the beginning of the review, not a substitute for the final design.
Mark known sources on the plan and observe the property during meaningful rain when safe. A dry-weather visit cannot reveal every recurring drainage condition.
Read finished elevations together
Deck pitch, thresholds, coping, lawn, walls, steps, drains, and structures form one vertical system.
Find the important transitions on the plan: a door threshold, the edge of the pool, a stair landing, the end of a wall, and the point where paving meets lawn. Ask how their finished elevations relate. These are places where the visual design and water movement must agree. A top-down rendering may make all surfaces look level even when their actual relationships are essential to the completed project.
Request a section or enlarged detail wherever the relationship is difficult to understand. The purpose is not to approve a slope by eye. It is to make sure the project team has addressed the transition and can explain the intended result. If one element moves or changes height during design, ask what else needs review. A threshold, wall, or patio edge should not be adjusted independently if doing so changes the larger drainage arrangement. Keep the current coordinated drawings available so decisions are made against the same version of the project.
Review spot elevations and sections at transitions where water could collect or cross a route. A comfortable-looking flat terrace still needs intentional water movement.
Coordinate drains with the material layout
Channel drains, inlets, joints, paving patterns, and wall edges affect both function and appearance.
Drainage components can be visible parts of a material palette. Ask where a channel or inlet will appear relative to paving joints, coping, steps, and furniture. Considering those relationships early can help the finished surface look intentional without sacrificing the function the drainage professional has specified. Appearance is a coordination question, not a reason to hide an inlet where it cannot be maintained.
Review the selected paving format alongside the proposed drainage locations. A product substitution or pattern change may affect the visible junction even when the overall patio outline stays the same. Ask the designer and installer how the detail will be resolved and whether a representative drawing or example is available. Also identify access for cleaning and inspection. The most discreet-looking component is not necessarily the most practical choice if ordinary care requires moving a large built-in feature or dismantling a carefully finished edge.
Integrate drainage lines into material modules and circulation instead of adding them after the pattern is chosen. Hiding a drain visually should not make it difficult to clean or inspect.
Keep roof water out of gathering zones
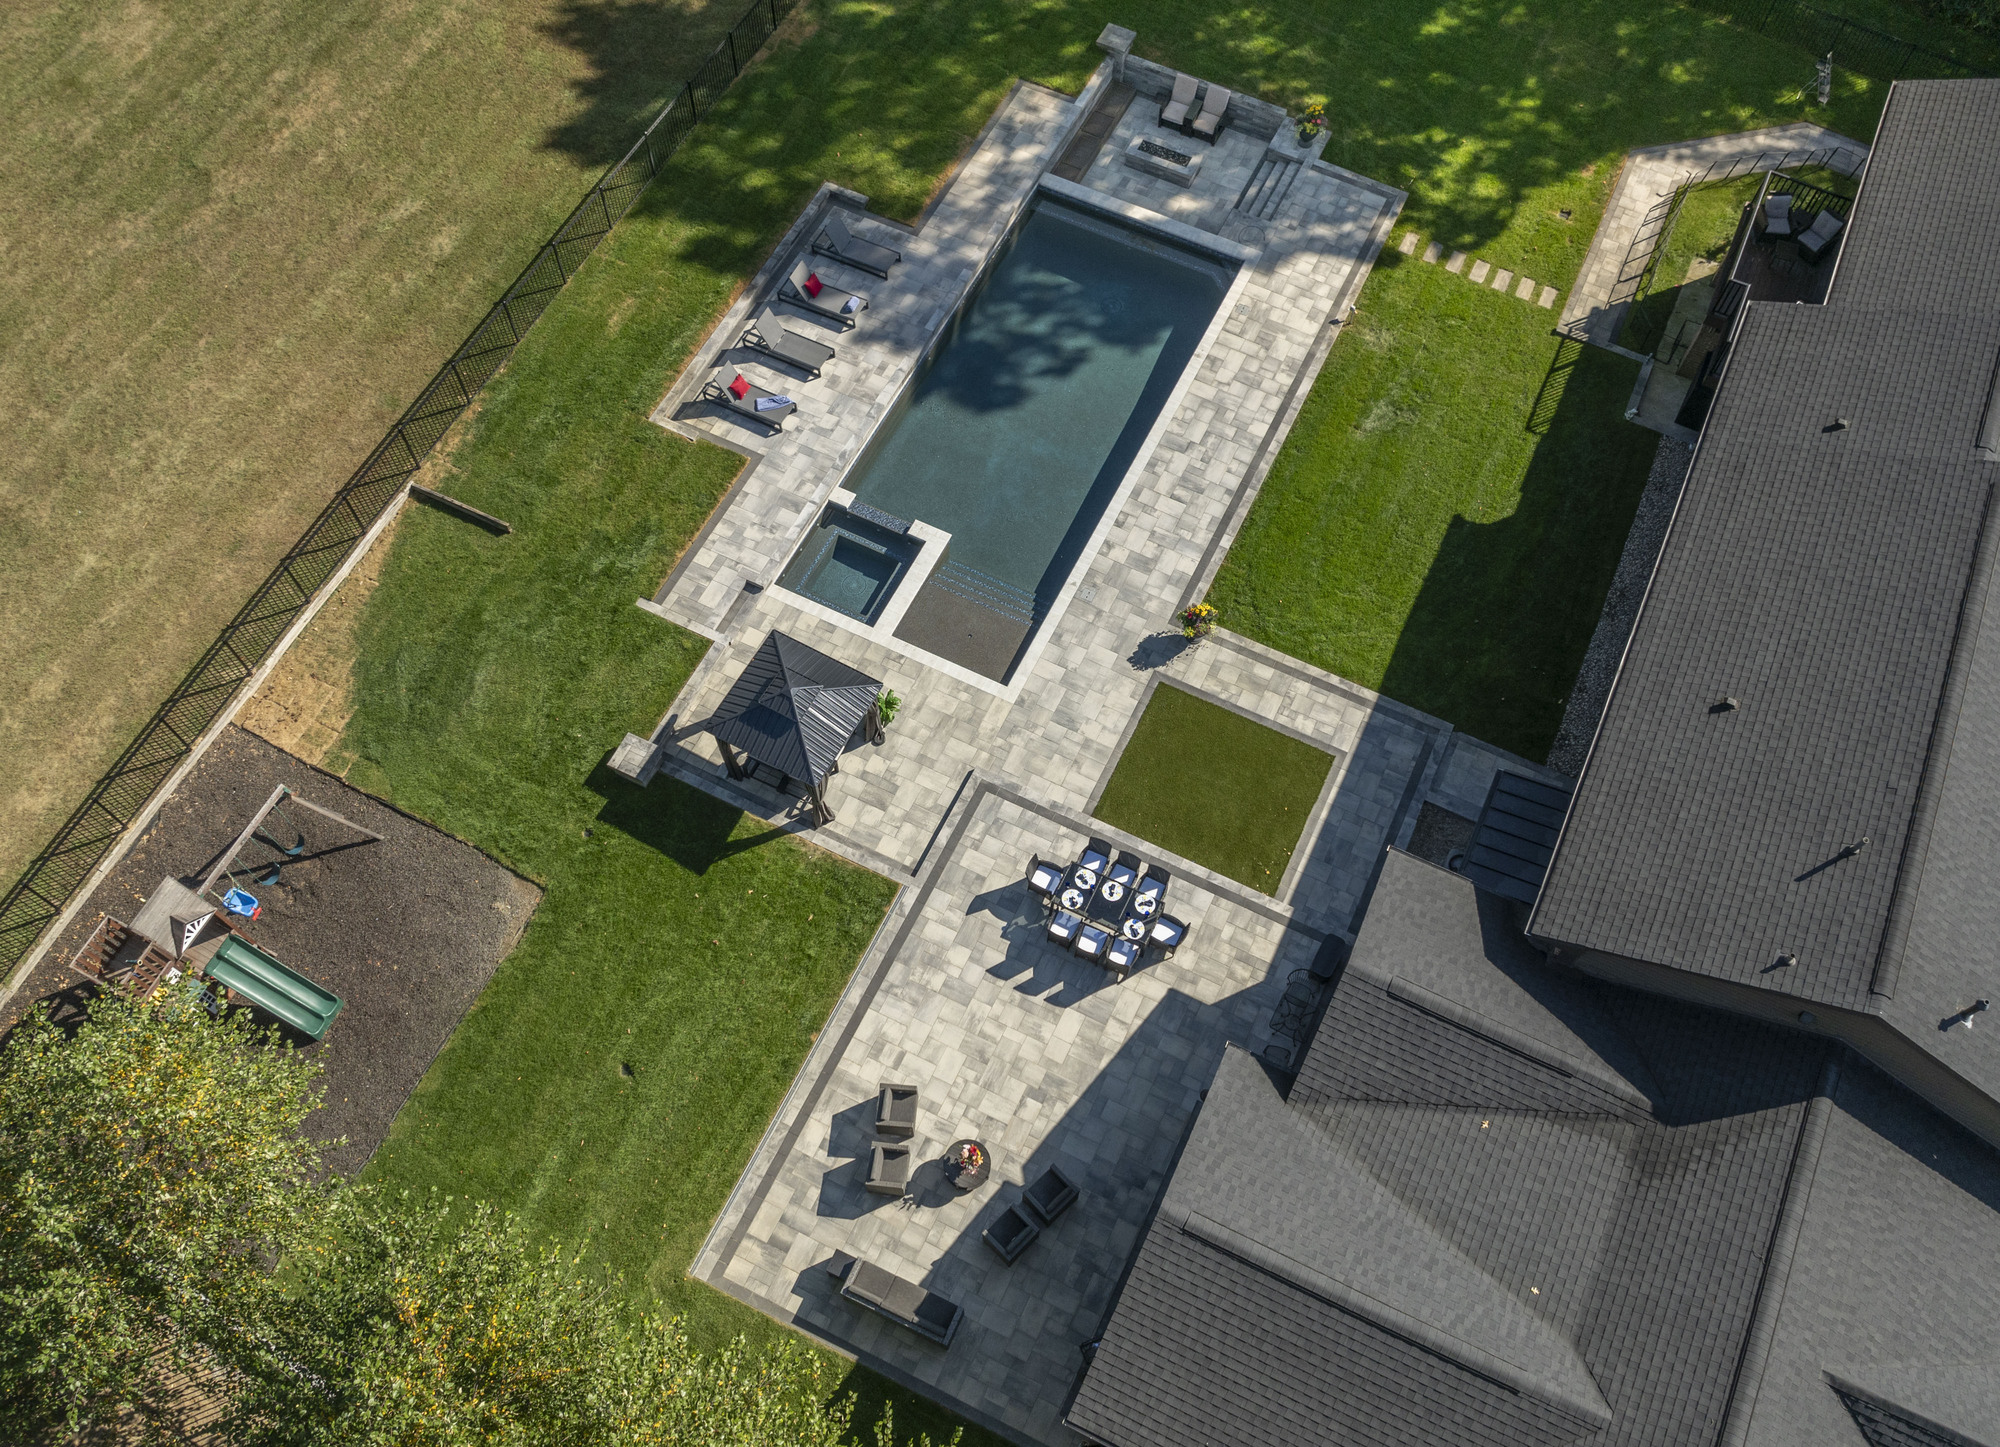
New pavilions, pool houses, kitchens, and existing roofs may concentrate water onto patios or planting.
A pavilion or pool house should be reviewed as a water source as well as a place for shade or shelter. Ask where roof water will be collected and how its route connects to the rest of the site design. A downspout should not become an afterthought positioned wherever it is least visible in one elevation. Its relationship to doors, walking routes, planting, and the pool terrace matters.
Consider the existing house at the same time. A previously acceptable discharge location may interact differently with new walls or paving. Bring any known history of water near the home to the project team before the layout is finalized. In a Southeast Michigan setting, ask how seasonal conditions are addressed by the proposed design and maintenance guidance. Do not improvise discharge changes based on a blog. The appropriate route and any permissions need to be confirmed for the property, including the relationship to surrounding land and structures.
Show gutters, downspouts, discharge routes, and snow-shedding edges on the poolscape plan. A roof can solve shade while creating a new water problem if drainage is deferred.
Use planting and soil responsibly
Planting beds and lawn can receive some water only when soil, slopes, roots, and overflow paths are designed for the actual conditions.
A planted area can be part of a coordinated landscape and drainage plan, but its appearance does not establish how much water it can accept or where excess water will go. Ask the relevant professional to explain the intended role of the soil, planting, and grade. A decorative bed beside the terrace should not quietly become the assumed destination for every unresolved water source.
Discuss the landscape and irrigation together. New watering patterns, raised bed edges, or later additions of soil and mulch can affect the finished relationships. Identify which parts of the design must remain as installed and what should be reviewed before future changes. If the plan includes a special landscape drainage feature, request care guidance specific to that feature rather than applying ordinary planting-bed maintenance by assumption. The homeowner can support long-term performance by understanding the intended system, while the technical design remains the responsibility of the qualified team.
Coordinate landscape grading and irrigation with the engineered or professional drainage approach. Planting should not be treated as a universal substitute for drainage infrastructure.
Plan inspection and upkeep
Leaves, mulch, sediment, freeze-thaw, furniture, and snow storage can affect drainage performance over time.
Ask to be shown the visible inlets, access points, and other components that the homeowner is expected to observe or maintain. A handover explanation is more useful when it happens in the actual yard with the final surfaces in place. Keep the relevant instructions and contacts with the project records, and clarify which tasks belong to a professional rather than treating every drainage issue as a do-it-yourself cleanup job.
Know what changes should prompt a question. Repeated standing water, an unexpected flow across a route, or a new wet area deserves review rather than an improvised patch that may move the problem elsewhere. Furniture, leaves, mulch, and storage can also change the conditions around visible components. Ask how the intended access should be preserved through the year. Tango’s site-preparation and poolscape resources help connect these questions to the wider project; the final drainage plan should explain the particular routes and responsibilities for your home.
Identify cleanout points, visible inlets, and the homeowner’s routine observation tasks. The system should be reviewed when standing water or unexpected flow appears rather than assumed maintenance-free.
Continue this review with site preparation and soil considerations and poolscape design.
Coordinate water movement before selecting finishes
Drainage should be visible in the design conversation even when much of the final system is concealed. Project-specific professionals must establish the actual solution, but homeowners can ask better questions by tracking every water source, route, low point, and maintenance access.
For a project-specific conversation, contact Tango Pools in Rochester. Bring your observations of recurring wet areas, known roof-water outlets, and the transitions where paving, doors, walls, and lawn meet. These starting points help the team connect the design discussion to the way you intend to use your property.